Welcome to Step 3 of integrating your Google account with ProSpace.
After you created a generic Booking Account in Google, it is time to create a ProSpace Account. If you do not have a generic Booking Account in Google kindly go back to G1.
P1
Set Up an Account with ProSpace.
- To start, go to ProSpace registration page.
- You will be directed to the page shown below. Fill in the details and click “Register”.

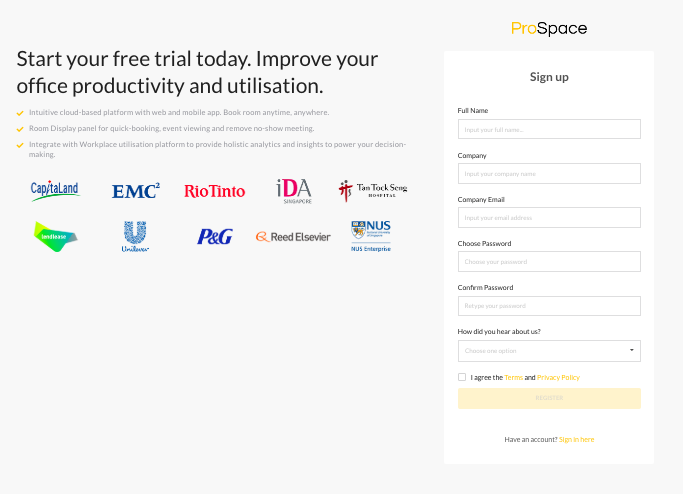
- Once you click “Register”, you will receive an email from ProSpace to activate your account. Follow the instruction and you will be asked to log in with your email address and password.
- Upon logging in, follow the on boarding process to set your account at ProSpace. We will start by adding an office like the picture bellow. Name your office and filled in the address accordingly. The address of the building will determine the timezone of the building.

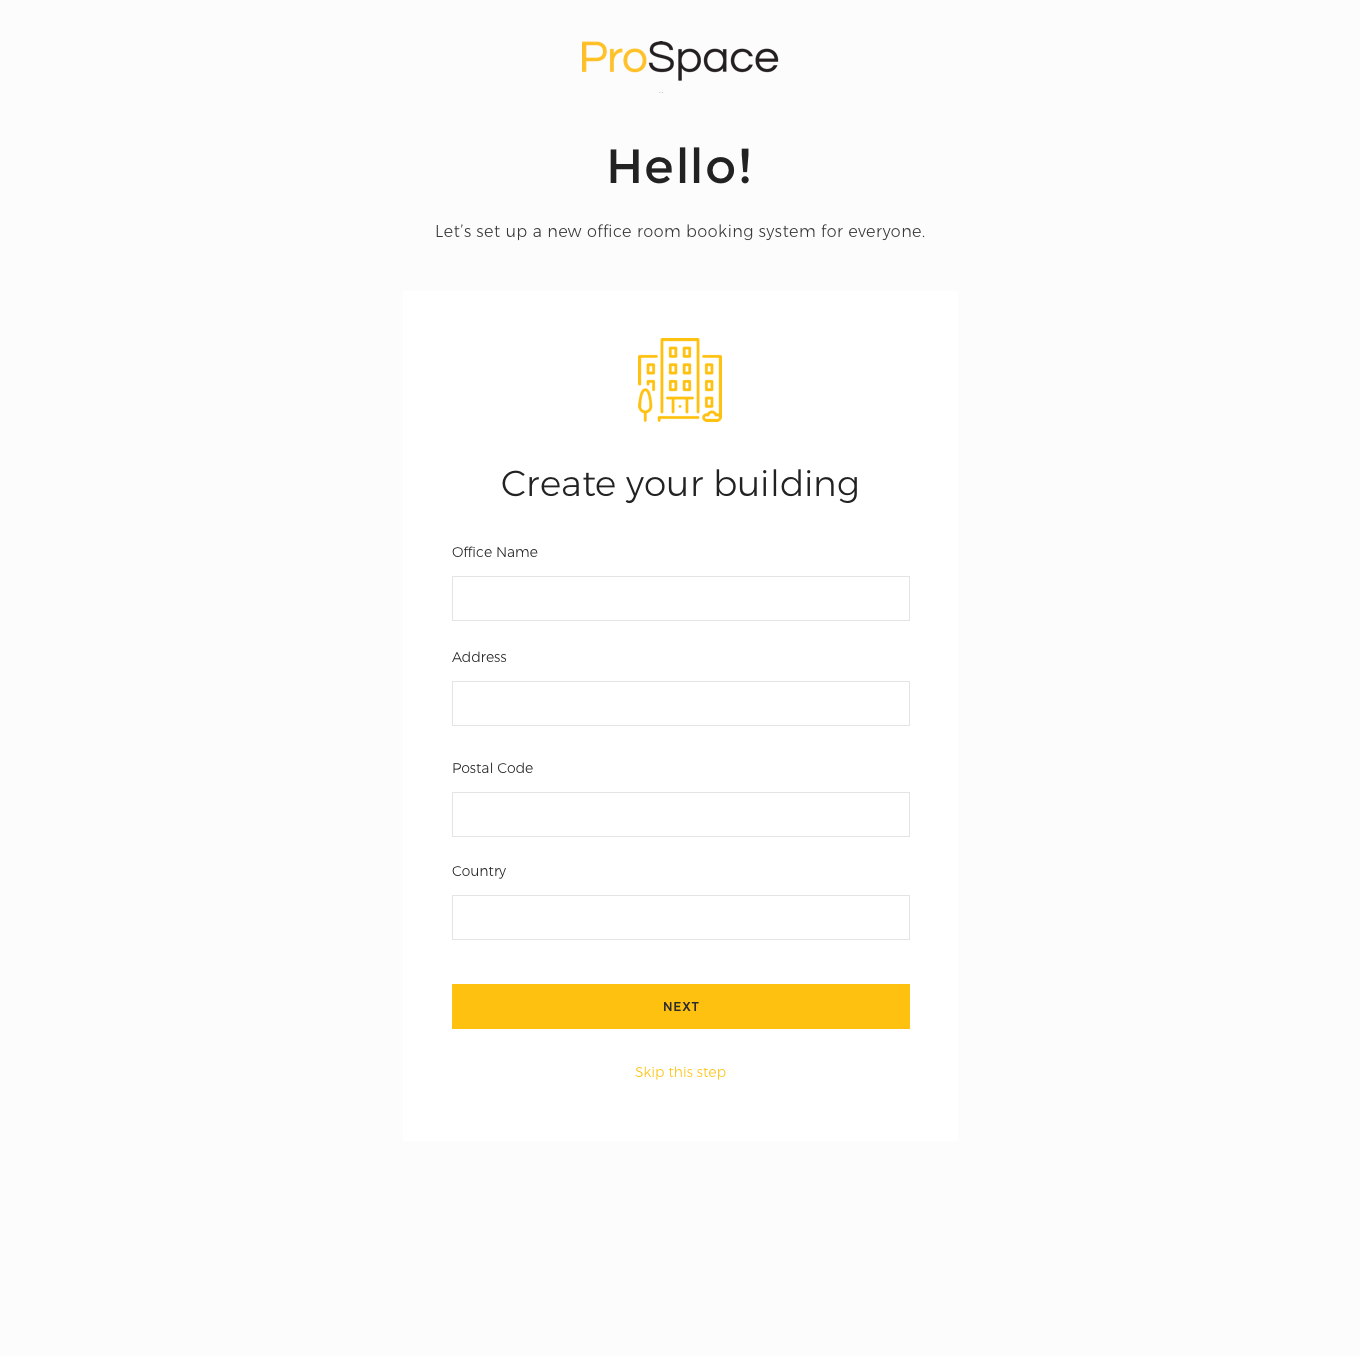
- Once you click next, you will be asked to add floors where your meeting rooms are located. If your meeting rooms are in different floors, you can add them simultaneously by separating them with commas.
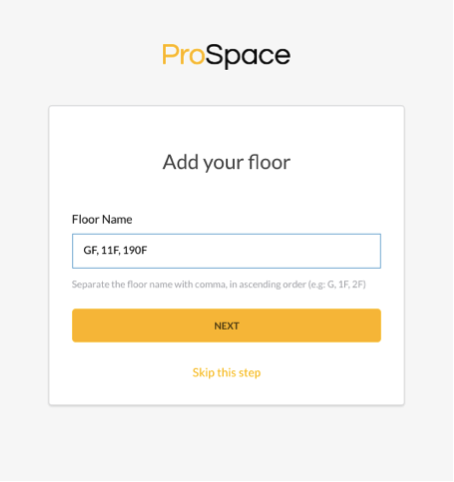
- Next, add your Spaces.
Spaces in ProSpace represent your actual meeting room. We suggest that you name these Spaces according to the actual meeting room in your office. This will make it easier for you to manage and for others to book the correct rooms.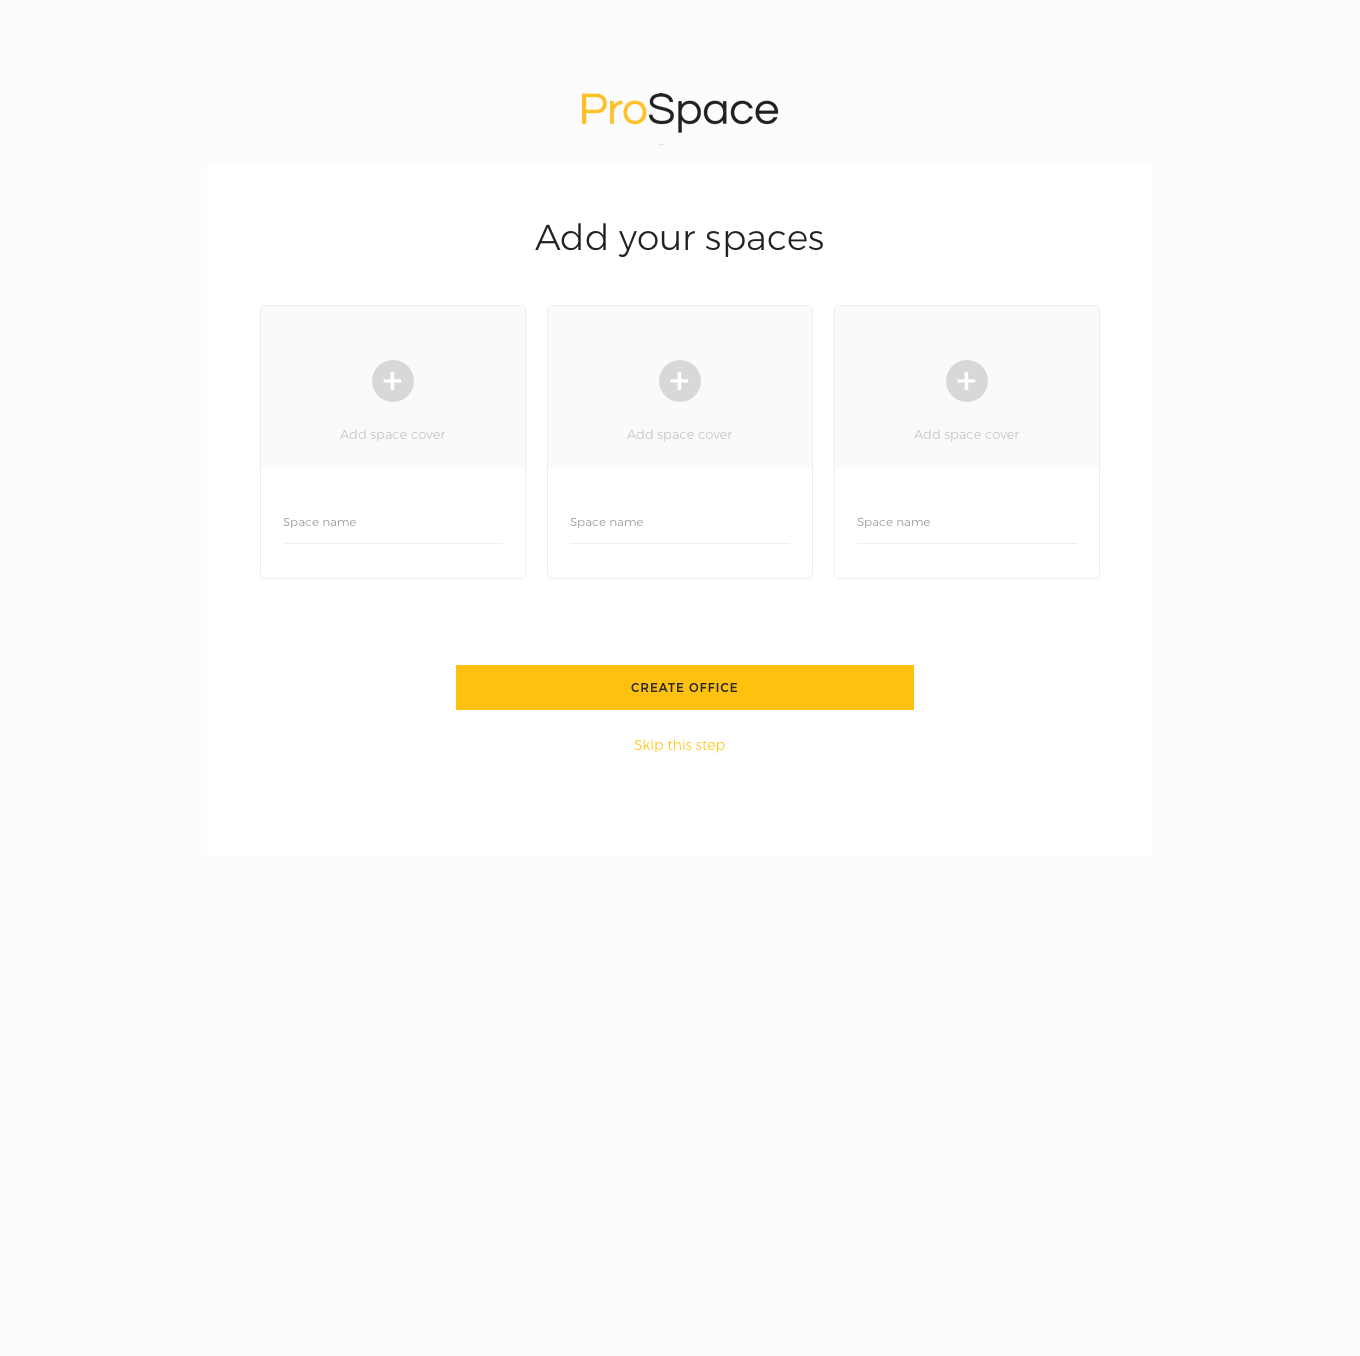

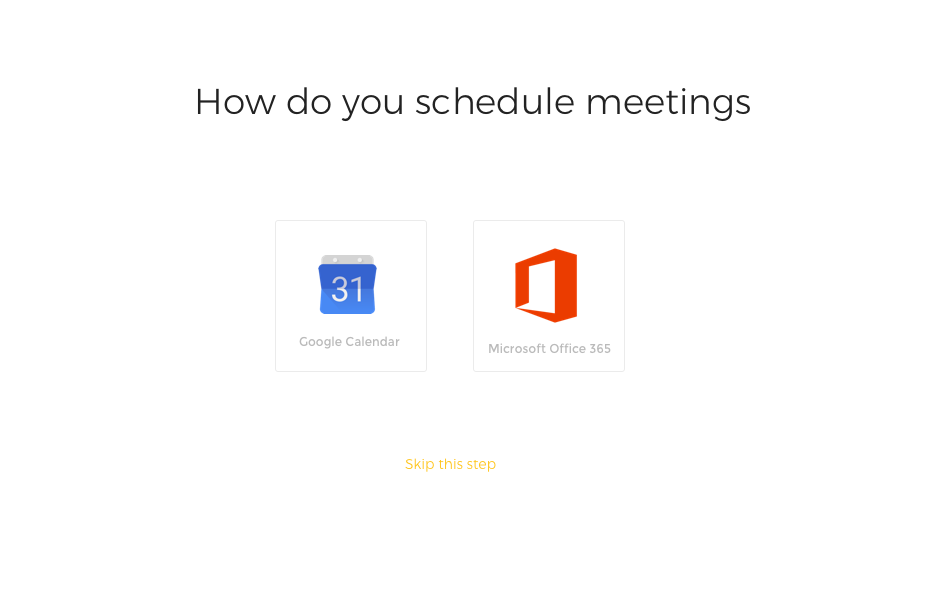
- Afterwards, you will be asked to integrate with a calendar. Select the ‘Google Calendar’. This is where the generic Booking Account you created in G1 will be used.

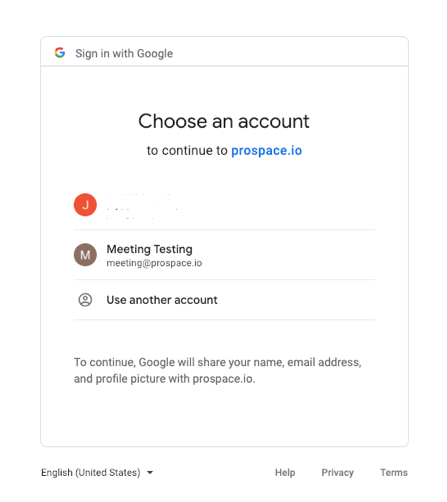
- Next, a pop up will appear with a list of accounts you have in Google. Select or add the Booking Account you created in G1.
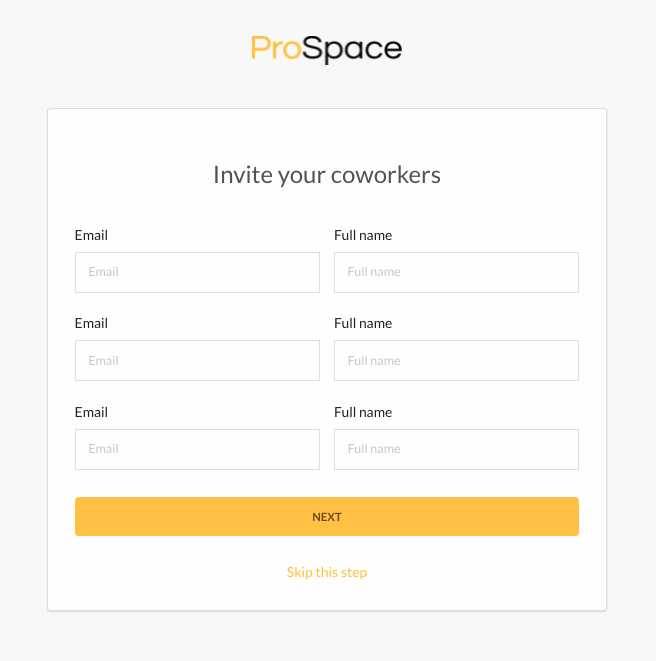
- Lastly, invite your colleagues to join the organization.
- Congratulations! You have set up your ProSpace Account and have successfully integrated with Google.